THE ZEST CAMPAIGN / A PRACTICAL GUIDE
From a product photo
to a finished video ad.
Here is how we built a 14-second ZEST ad in Mozify: the starting reference, the generated assets, and the choices made in the Editor.
By the Mozify team · September 18, 2026 · Fictional sample product
Start with the result.
The presenter opens the story. Product footage carries the middle. A packshot and a final line close it. The original voice continues over the cutaways so the ad feels like one message.
- Final length
- 14 seconds
- Exports created
- 9:16, 4:5 and 1:1 MP4
- Tools used
- Image generation, video generation and the Mozify Video Editor
1. Give the product a clear starting point.
Use a reference that shows the product shape, label and colors clearly. For this demonstration we generated a fictional orange sparkling drink called ZEST. For your own campaign, start with a product photo you can use.
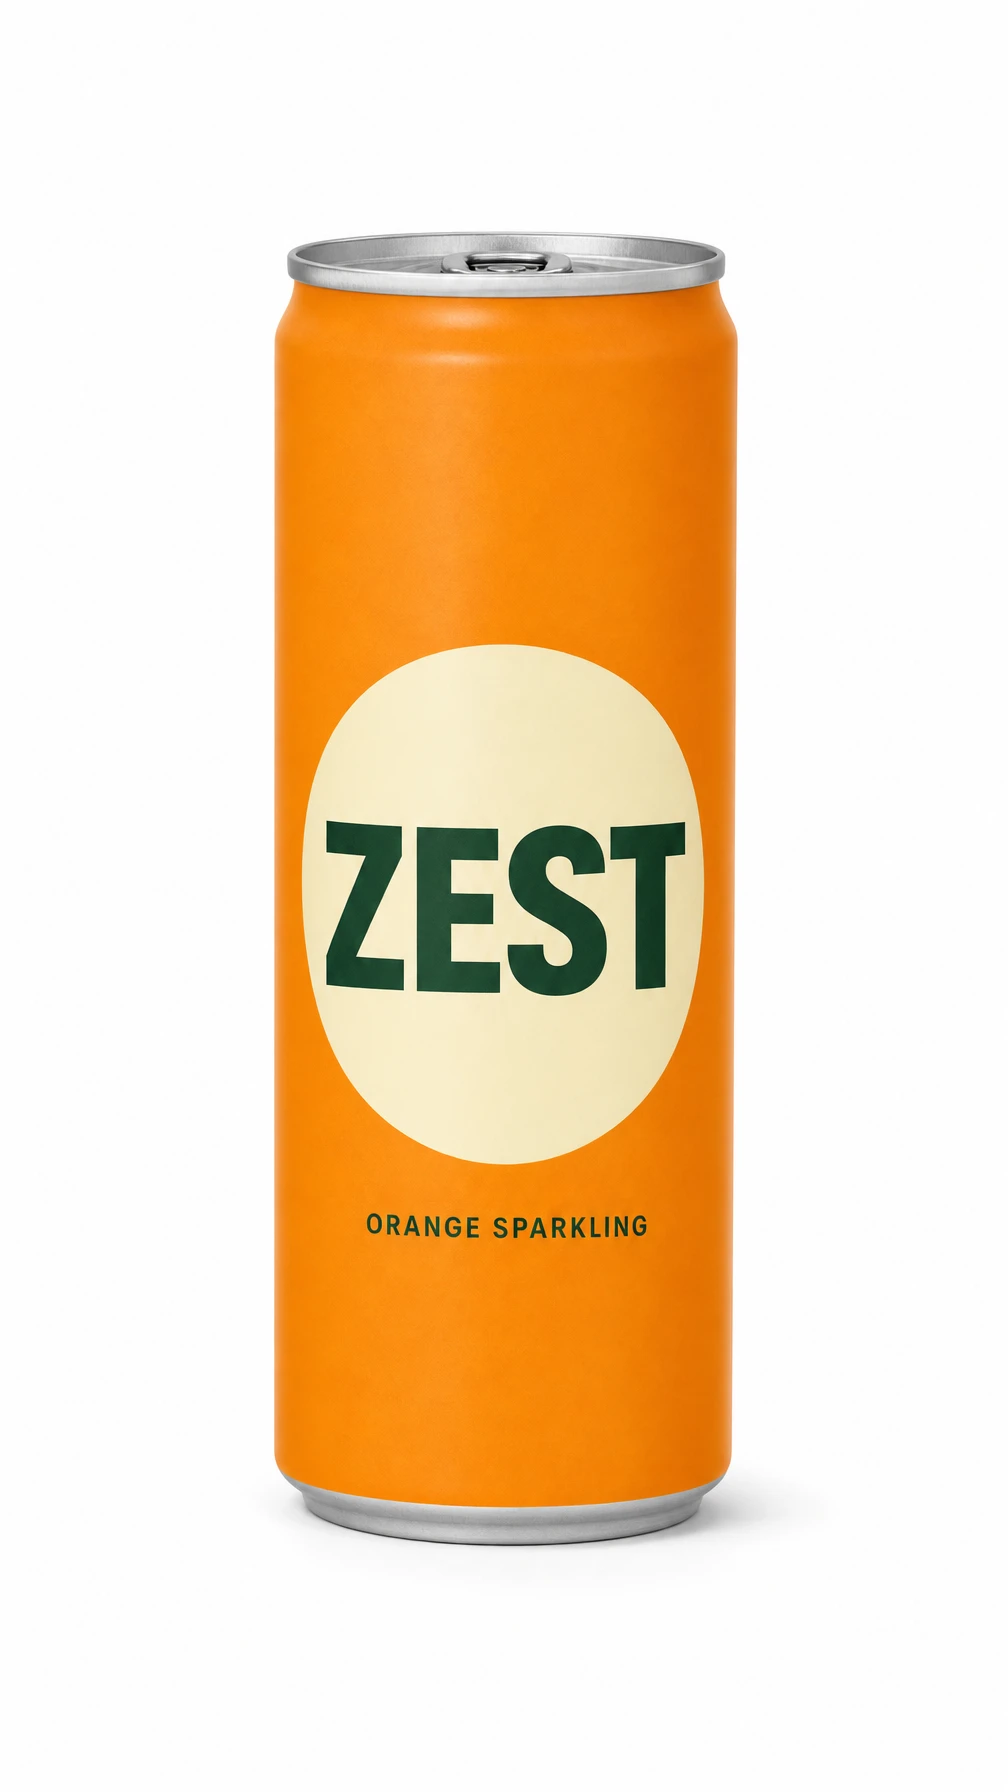
Keep brand details visible when you review the result. An attractive scene is useful only if your product is still recognizable.
2. Create a scene with a purpose.
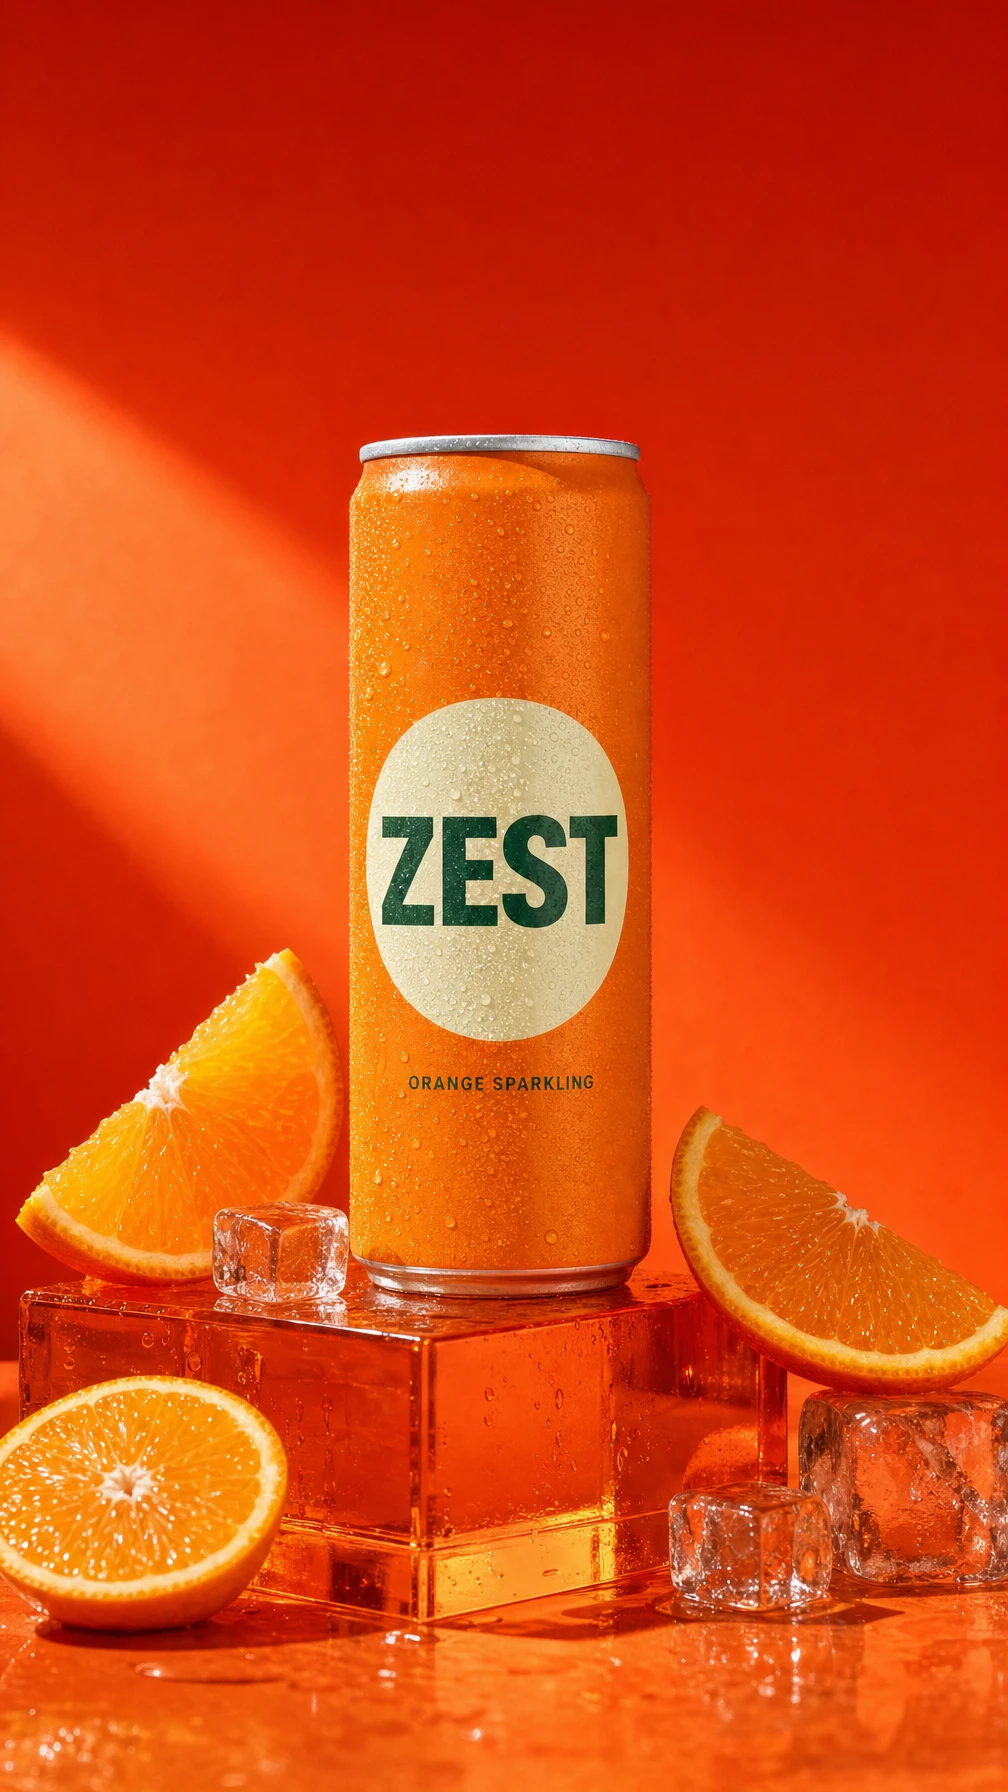
We used GPT Image 2 in Mozify to place the same can in a bright citrus setting. The orange palette, condensation and ice gave the next shot a clear visual direction.
A useful image brief describes what must stay unchanged, where the product sits, how it is lit and what belongs around it. Avoid filling the frame with elements that compete with the packaging. Open the image at full size before using it as a video reference.
Explore product image creation ↗3. Give the footage something to do.
The ZEST product film uses three actions: a citrus splash, a close-up pour and a final can-and-glass reveal. The eight-second clip was generated with Seedance 2.5 through Mozify. Its image reference establishes the product and scene; the prompt directs the action and cuts.
A prompt structure to adapt
Preserve the product and label from the reference. Open with a decisive action, cut to a close detail, then finish on a clear product reveal. Specify each action, the camera view and the timing of the cuts.
For the presenter opening, the requested line was: “A little citrus. A little sparkle. Your afternoon, refreshed.” Watch the take with sound and choose the part that supports your message.
The website’s presenter examples were generated with Seedance. Talking Head also gives you access to 1,000+ AI creators and 50+ languages for presenter-led work.
4. Build the ad on the timeline.
We assembled the chosen assets in the Video Editor. This was an edited sequence: the takes, trims, voice placement and titles were chosen by the person making the campaign.
- Use the first 2.75 seconds for the presenter opening.
- Follow with the eight-second product film, while the presenter’s voice continues across the opening cutaways.
- Close with a 3.25-second packshot and the final message.
- Review the title timing, then export 9:16, 4:5 and 1:1 versions.
These exports adapt one edit to different placements. To try a new creative angle, change the opening message or sequence; changing the aspect ratio alone does not create a new argument for the product.
Plan the cost before creating new assets.
Generation costs depend on the model and settings. Review the quote shown in Mozify before each run. When a take works, reuse it in the Editor for title, timing and format changes instead of generating the same footage again.
The workflow shown elsewhere on this website generated headline options and shot direction. It did not automatically create every asset in this campaign. This walkthrough demonstrates the production process; it does not claim advertising performance.
Build your own product story.
Start with your product image. Review the scene, create the footage and bring the pieces together in the Editor.
Start with a product image ↗